Preserving Summer Flowers and Annuals
By Kaw Valley Greenhouses, Inc.
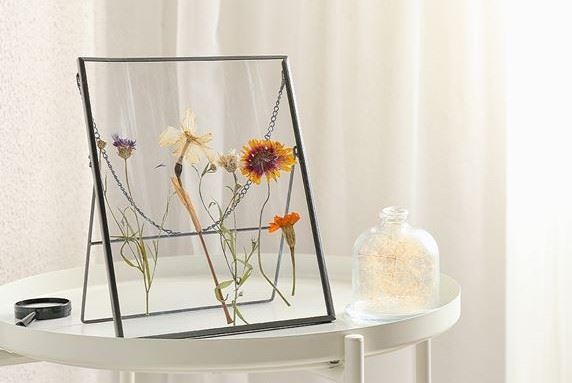
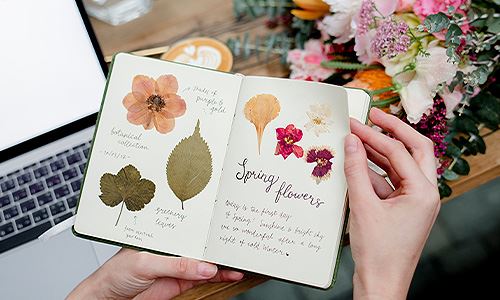
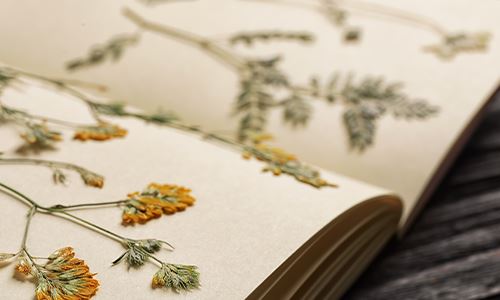
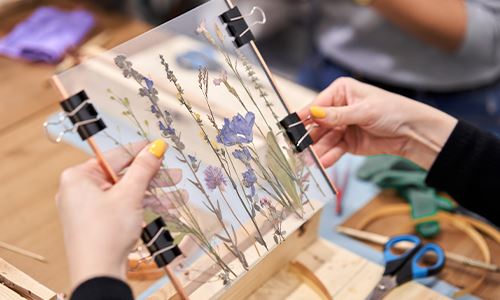
All the information you need to create sentimental and artistic project with pressed flowers.
Looking for something in particular?
Search our article library:
Need some advice on how to start a beautiful garden? Sign up for our email newsletter, and receive free gardening articles, resources, and container designs to your inbox.

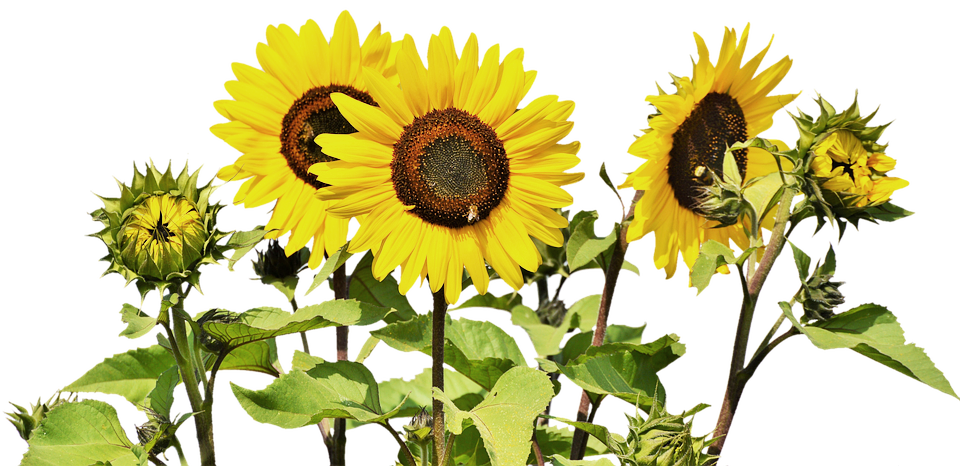
Have you ever looked at the summer annual flowers and shrubs in your garden and thought, “Wow, I’m so good at gardening. I wish I could preserve this summer scene forever.” Well, guess what, folks? You’re in luck!
Whether you want to cherish a special occasion, preserve your best blooms, make summer last forever, or get crafty, we have all the information you need to pull off a beautifully pressed summer bloom display all year round.
When Do I Pick my Flowers?
First thing’s first: fresh is best. If you are picking annuals from your garden, you need to pick the flowers at their peak performance and their brightest color of the summer season.
It is important to pick flowers that are as dry as possible; do not trim off flowers to press after a fresh rain, irrigation, or watering (they could mold) and your memento will have no everlasting effect.
 What Flowers Should I Press?
Summer Annual Flowers to Press:
-Pansies
-Petunias
-Geraniums
-Poppies
-Begonias
-Impatiens
-Cosmos
-Million Bells (Calibrachoa)
-Vinca
-Dusty Miller
-Verbena
 Perennial Flowers to Press:
Each of these flowers are generally thin enough to be pressed without any modification.
-Gaura
-Yarrow
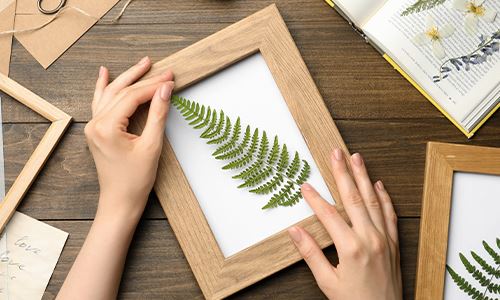
-Ferns
-Coreopsis
-Black Lace Elderberry
-Agastache
-Anemone
 How Do I Press my Picked Flowers?
There are a few things you can use to press your flowers:
-
Use some very heavy books, such as old textbooks that need a better purpose than collecting dust on the shelf. Note that moisture can seep through, so consider this when deciding what literature you will be using for this project.
-
Make a homemade flower press: drill four holes in the corners of two pieces of plywood, place your flowers in the middle and bolt them together.
-
Buy a flower press. These are available online and at specialty flower or craft shops.
You will need absorbent sheets of paper on either side of your flower. Do not use paper towel or parchment paper; instead, use any of the following:
-
White construction paper
-
White craft paper
-
Unprinted newspaper
The last component you’ll need is some cardboard. Layer your cardboard, paper and flower between the press in the following order: cardboard, paper, flower, paper, cardboard.
To press multiple layers, simply repeat the pattern with one layer of cardboard in between each paper-flower-paper set.
 Some Important Things to Remember for Pressing
-
Depending on the variety of plants, they will need two to four weeks to dry. They should feel completely dry and papery when finished. If you feel any coldness or moisture, leave them in your press for longer.
-
Flowers should be placed in the press face down, allowing the weight to push them into a nicer shape.
-
Do not press previously dried flowers, as they will shatter.
-
Handle your pressed flowers with tweezers; this will ensure you do not damage them and make them easier to handle.
Share your creations with us on Facebook, we’d love to see the creativity and inspiration!